Client-side integration
Connection stages
1. Basic integration
Rocket Listing integration requires a basic Retail Rocket integration, which includes transferring the product database and configuring user behavior tracking.
However, you may need to configure the transfer of additional product attributes required for filters in the category listing.
For example: if your desired results design includes a screen diagonal filter for televisions, the screen diagonal parameter must be provided in the product database.
For more information about starting a Retail Rocket integration, see the corresponding section.
2. Client-side design implementation
Before work begins, all requirements for the interface appearance and behavior are agreed upon and documented. This makes the process transparent and prevents misunderstandings during implementation.
3. Integration into the store website
At this stage, the product is connected to your website. The following sections provide detailed integration instructions.
Integration process
Connecting the script
Place the script link in the <head> tag:
<script src="https://unpkg.com/@retailrocketgroup/listing-<partnerId>"></script>
- partnerId - unique identifier of your online store in Retail Rocket, issued during registration;
- You can use the npm package manager instead of connecting the script manually;
Placing web components
Catalog listing component
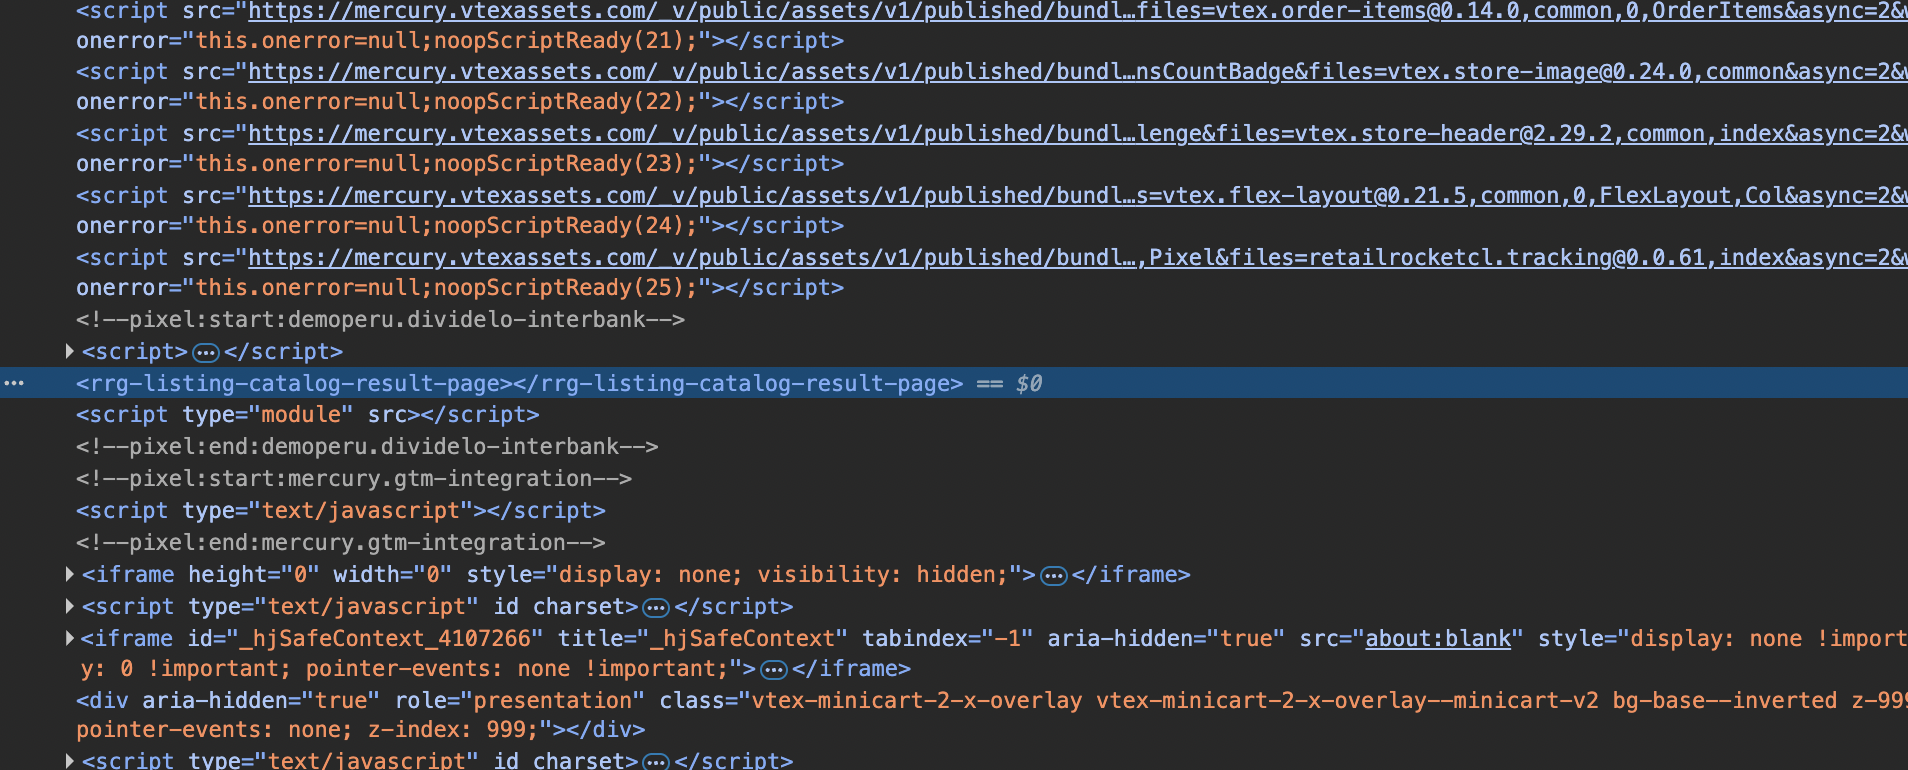
To display listing results on general pages, such as the home page, add the <rrg-listing-catalog-result-page> web component to the store layout on the home page.
<rrg-listing-catalog-result-page></rrg-listing-catalog-result-page>
Listing settings component
To pass listing parameters, add the <rrg-listing-settings> web component to the store layout:
<rrg-listing-settings
  stock=<stock>
></rrg-listing-settings>
Component parameters:
- stock - current user's warehouse or region identifier, if multi-regional support is used;
Category page listing component
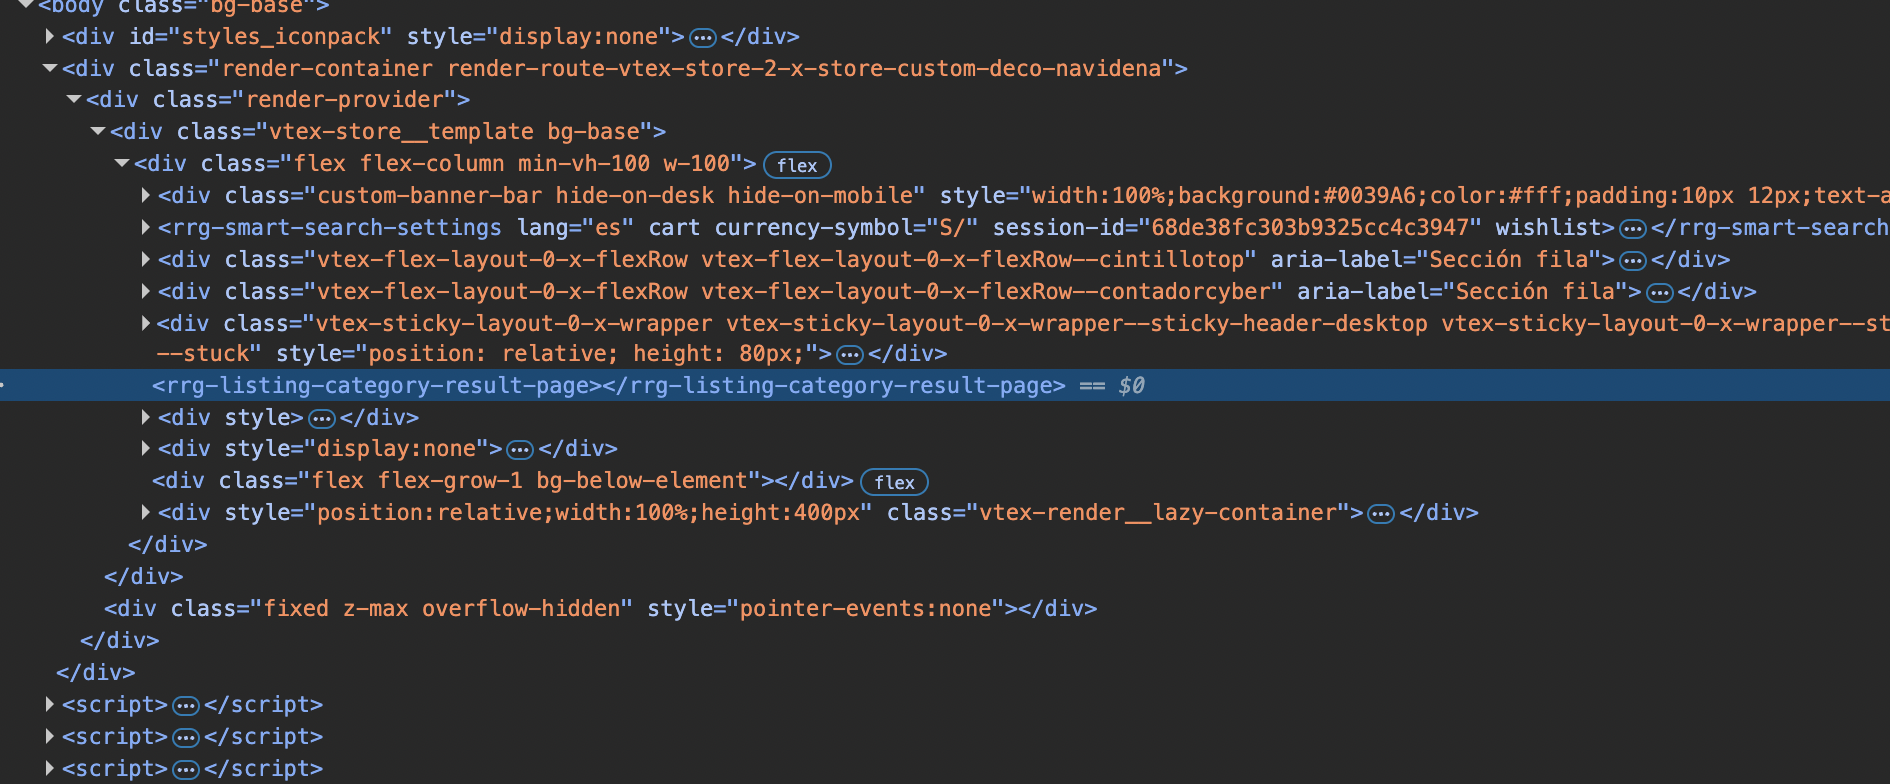
To display listing results on a category page, add the <rrg-rocket-listing-category-result-page> web component to the category page in the store layout.
For a category listing when the product database is transferred via XML:
<rrg-rocket-listing-category-result-page
  category-path=<category-path>
>
</rrg-rocket-listing-category-result-page>
For a category listing when the product database is transferred via Product API:
<rrg-rocket-listing-category-result-page
  category-id=<category-id>
>
</rrg-rocket-listing-category-result-page>
Pass only one parameter, category-path or category-id, depending on the product database integration type.
Configuring filters
The filter preparation guide will be published after its screenshots are localized into English.