Multilogin
Description
Several new features have appeared in the Retail Rocket platform personal account, here is the list:
Creating multiple offices
Previously if a you had two or more online stores, it was necessary to create several accounts in Partner Offices. For this you had to create several email addresses, and that was uncomfortable.
Now you can register only once and create as many accounts as you need.
Adding multiple users
Previously, all employees of an online store logged into the Retail Rocket personal account with one login, and it was problematic to deny access to a quit employee, because this could be done by changing the password only.
Now you can give access to your personal account to an unlimited number of users, and selectively block it if necessary.
Owner role
Now the personal account has its owner - a user with all rights, which cannot be limited. By default, the creator of an account becomes its owner.
This user is the primary contact for Retail Rocket. This is the person from the side of the store who decides which functionality to use.. If necessary, this role can be transferred to another user.
Management of offices
Creating of a personal account
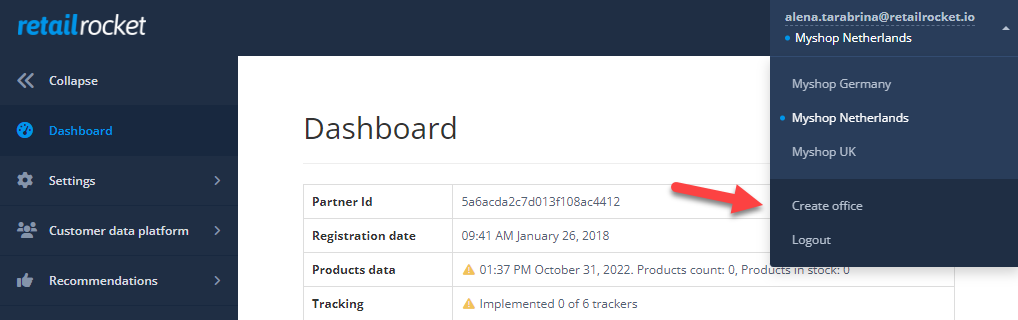
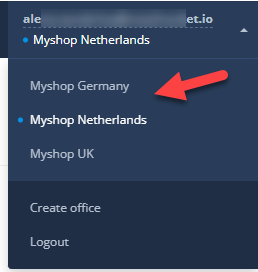
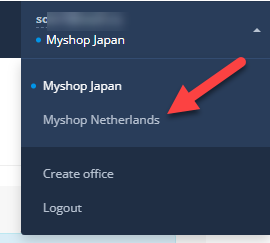
Choose “Create office” in the dropdown menu in the right top corner.
Specify the office name. For example, you can use the name of a company, brand, region, country or site domain. This name will be visible to all users whom you invite to this office.
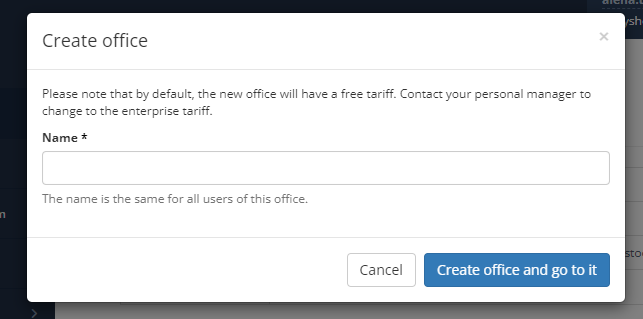
Click the button “Create office…”. The office will be created and a welcome page will be opened. Next, you need to specify the URL of the site, a link to the YML file with the product items and integrate JS trackers.
You can find more information about integration here.
If you need the help of your IT specialist to set up, you can invite him to the office.
A 32-day trial period will be started in the new office. Activation of a paid tariff for a small and medium-sized store will be available after configuration. To activate the Enterprise tariff, contact your personal manager.
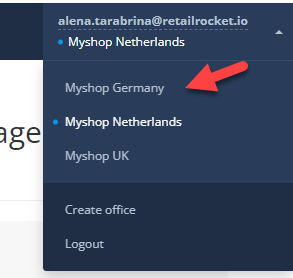
You can switch between offices in the dropdown menu:
Changing name of office
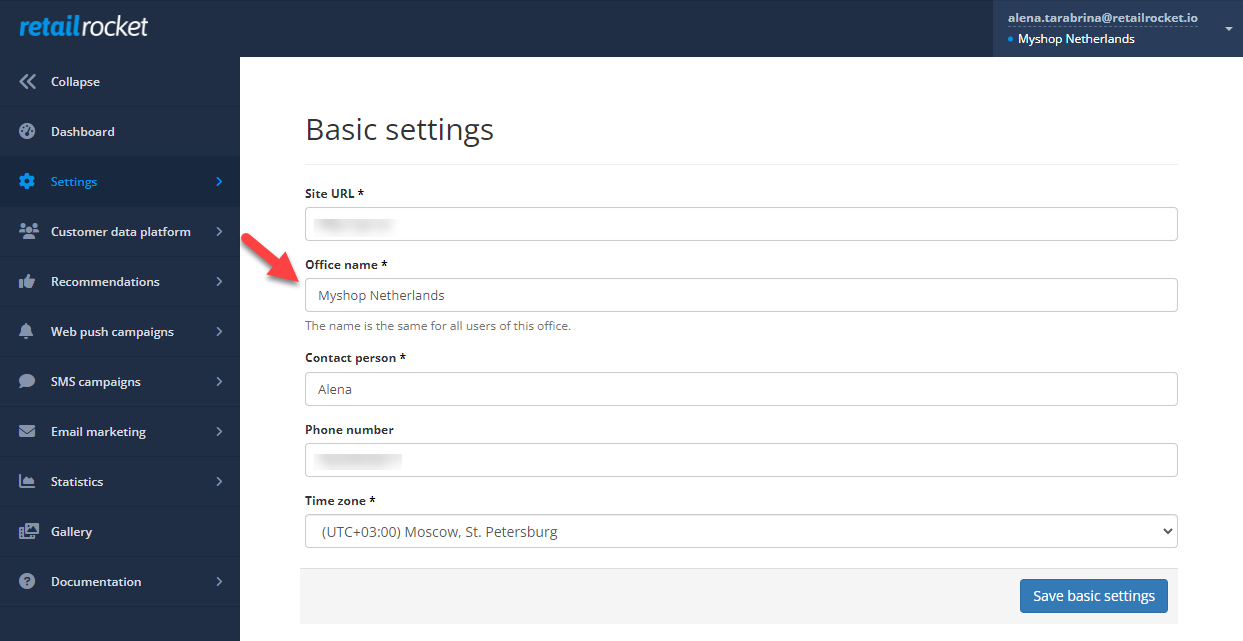
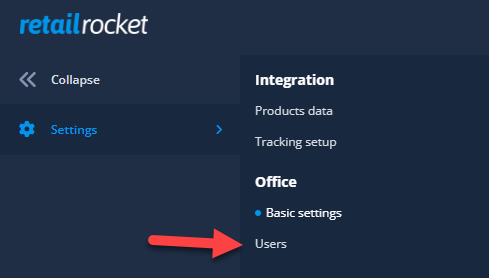
In sidebar select: "Settings" and then "Basic settings"

Specify a new name in the “Office name” field and save it.
Combining different offices
If you already have several offices with different emails you can link them to one user account.
You can ask your account manager or technical support for help, but you can also try to do it yourself.
- Choose your most convenient user account to log in (further in the text - TA - Target Account). If two-factor authentication is not yet enabled for this account, log in to your account, enter your phone number on the page that opens, confirm with an SMS code (for more information, see the section Login).
- Log out from the office. To do this click Logout in the dropdown menu.

Now for each next office:
- Log in to your office with the same email and password that you used before updating the platform (further in the text OA - office account). You will need to provide a phone number, and it must be different for each office. If you do not have the required number of phone numbers, contact your account manager or support;
- Go to the page “Users” and send an invitation to your TA email;
- Open email. Right-click on the “Log in to the new office” button and choose “Copy link”;
- Open the new tab in the browser in the “Incognito" mode. Paste the copied address into the address bar. The “Incognito” mode allows you to control which user account will accept the invitation;
- Log in with the TA account;
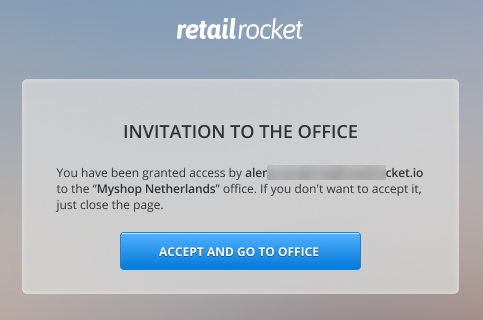
- Click the “Accept and go to office" button;
- Click Logout in the dropdown menu;
Highly RecommendedLog in under OA one more time and transfer owner's role to TA.
After you add a OA to each of the offices, you can log in under OA and switch between the offices in the dropdown menu. If you transfer the role of the owner, you will also be able to manage all the offices under one account.
Deleting an account and user account
Currently, there is no possibility to delete the office and user accounts. But if you really need it, you can contact technical support - [email protected].
User management
Invite a new user
Choose "Settings" and then "Users" in the sidebar.
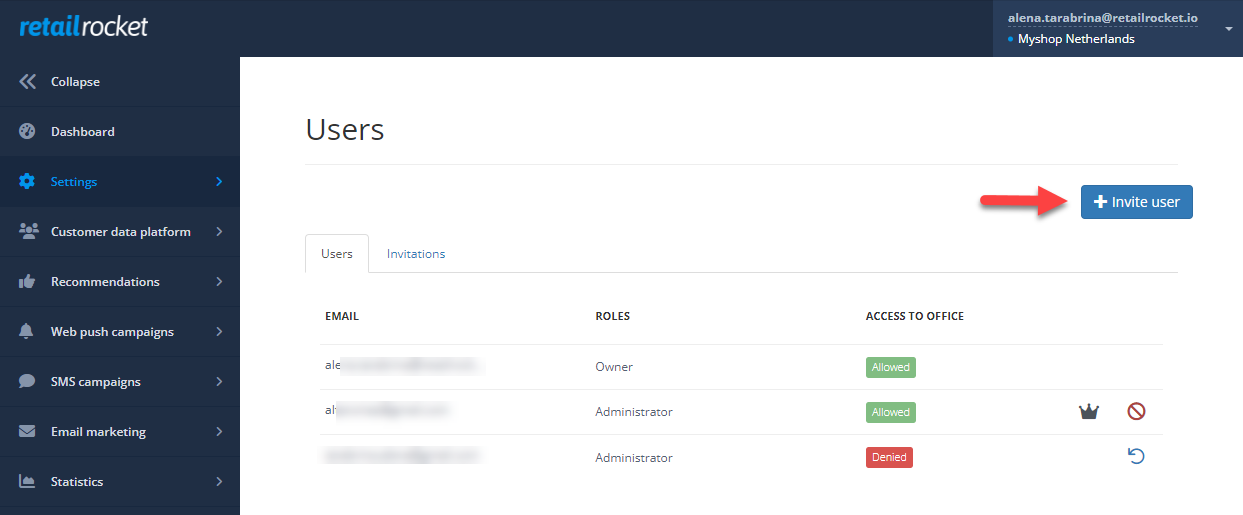
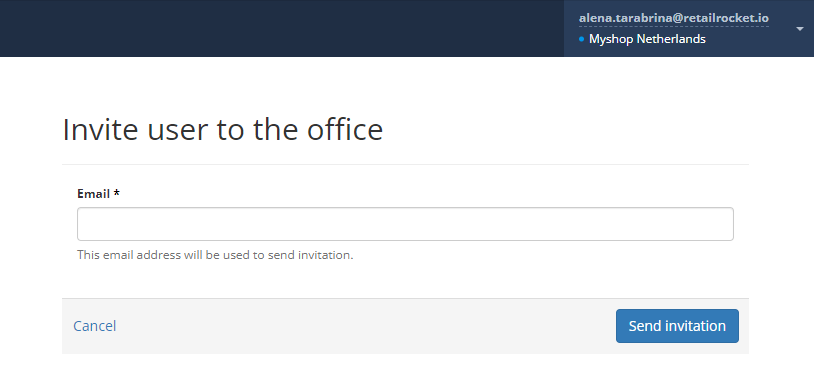
Click the “Invite user” button on the page.
Specify user' email and send the invitation.
The user will receive an email:
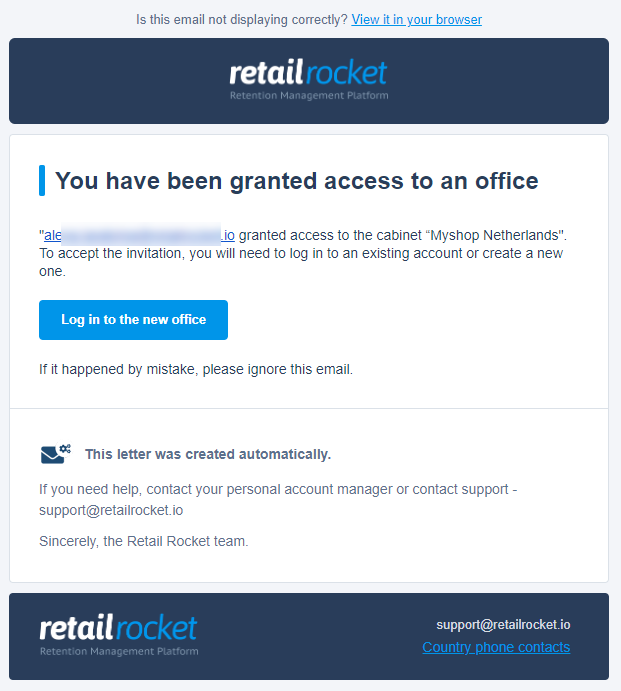
The user must click on the “Log in to the new office” button in the email. Would be opened a page with an offer to register or log in to an existing account.
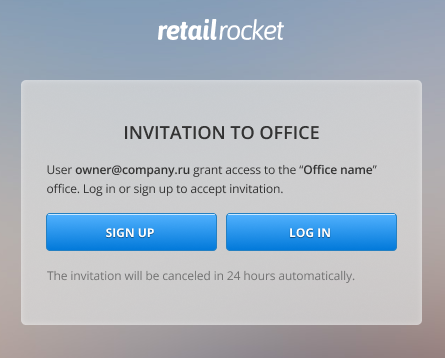
If the user is not authorized in the account at this moment, then a page will open asking you to register or log into an existing account.
The user logs in or signs up, accepts the invitation and goes to this office.
The user can see this office in the dropdown menu.
The accepted invitation is removed from the list.
At the moment, all invited users are invited to the office with the “Administrator” role, so they have a full set of access rights like the owner, except for the ability to transfer the “Owner” role.
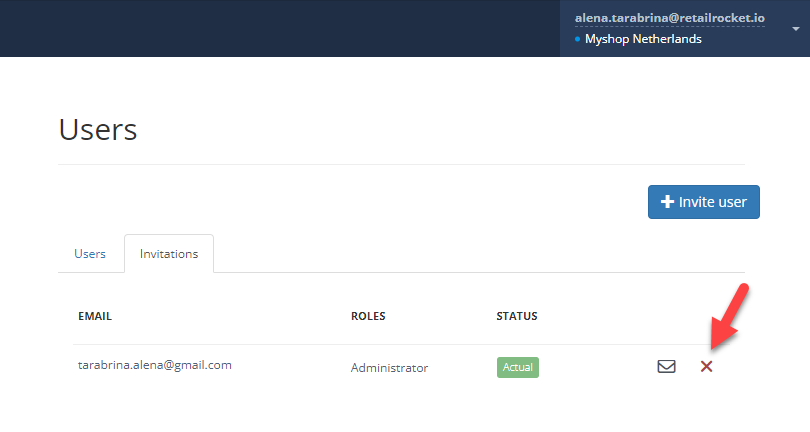
Cancel invitation
Invitation durationThe invitation is valid for 24 hours.
To cancel an invitation, on the user management page, click on the corresponding cross icon next to the desired email address.
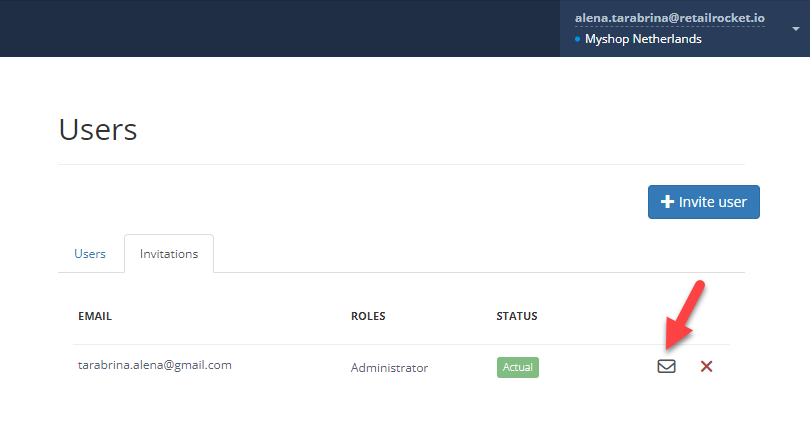
Sending a re-invitation
To resend an invitation, on the user management page, click the button with the envelope icon next to the desired email address.
If you don't receive an email, please check your Spam and Promotions folders.
Block user access
To block a user, on the user management page, click the corresponding icon and then confirm the action.
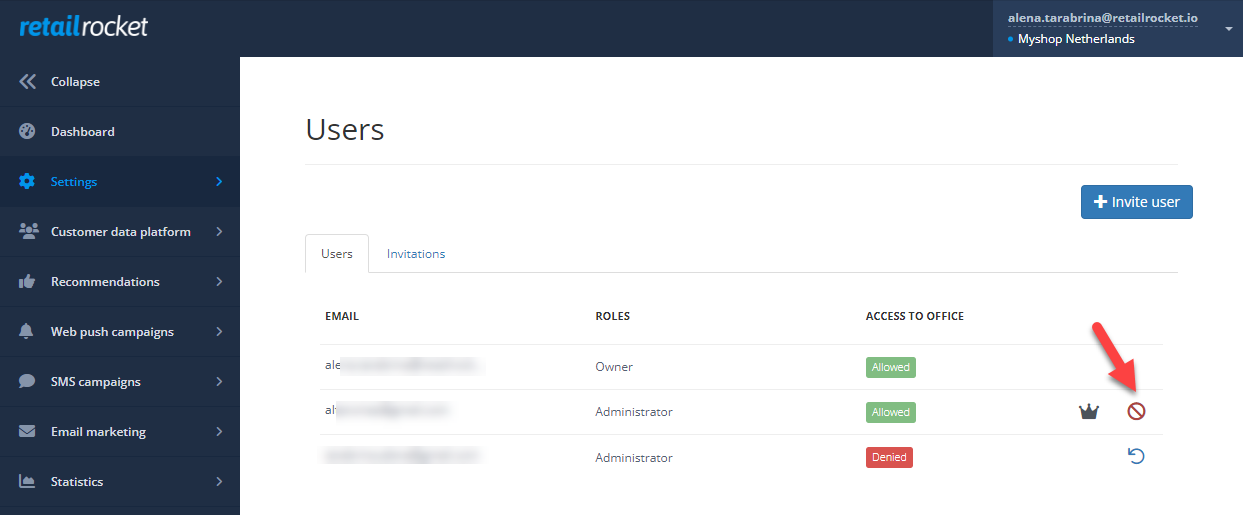
If you have blocked access to the office, the user account is not blocked and this user can access other offices or create his own.
Transferring of owner role
To transfer the role of the owner of a personal office, on the user management page, click the button with the crown icon opposite the desired email and confirm the transfer of the role. At the same time, you get the role of “Administrator”. The new owner can block your access to the office.
Updated 30 days ago