PrestaShop module
Module Download
You can download the PrestaShop integration module via this link.
Installation Guide
The following guide contains instructions to help the client install and configure the module effectively.
Module configuration
Configuring General Settings
In the "GENERAL SETTINGS" tab, you must first specify the Partner ID, provided by the Retail Rocket team. Without this identifier, it will not be possible to activate the module and its functionalities.
Here you can also activate and deactivate the module and consult the document with information about cookies. This document contains information about the cookies used by Retail Rocket, which should be included on your website's cookie information page to comply with current legal regulations and inform the user about the cookies used on the site.
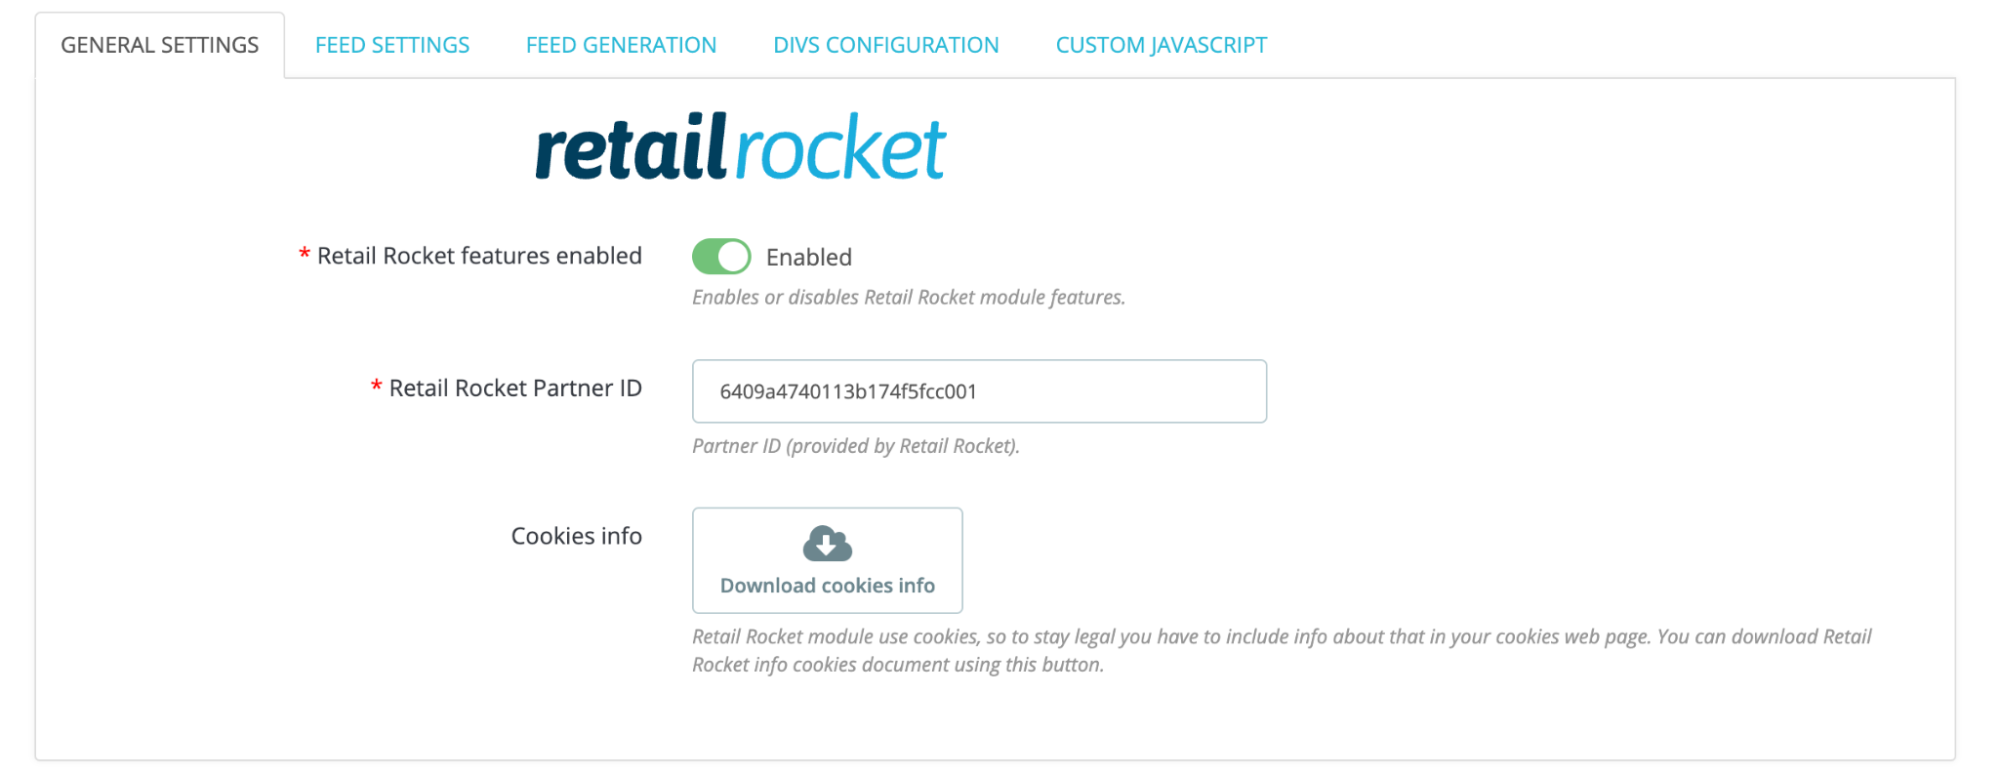
NoteIt is essential to fill in the "Retail Rocket Partner ID" before you can activate the module's functionalities.
Configuring the Product Feed
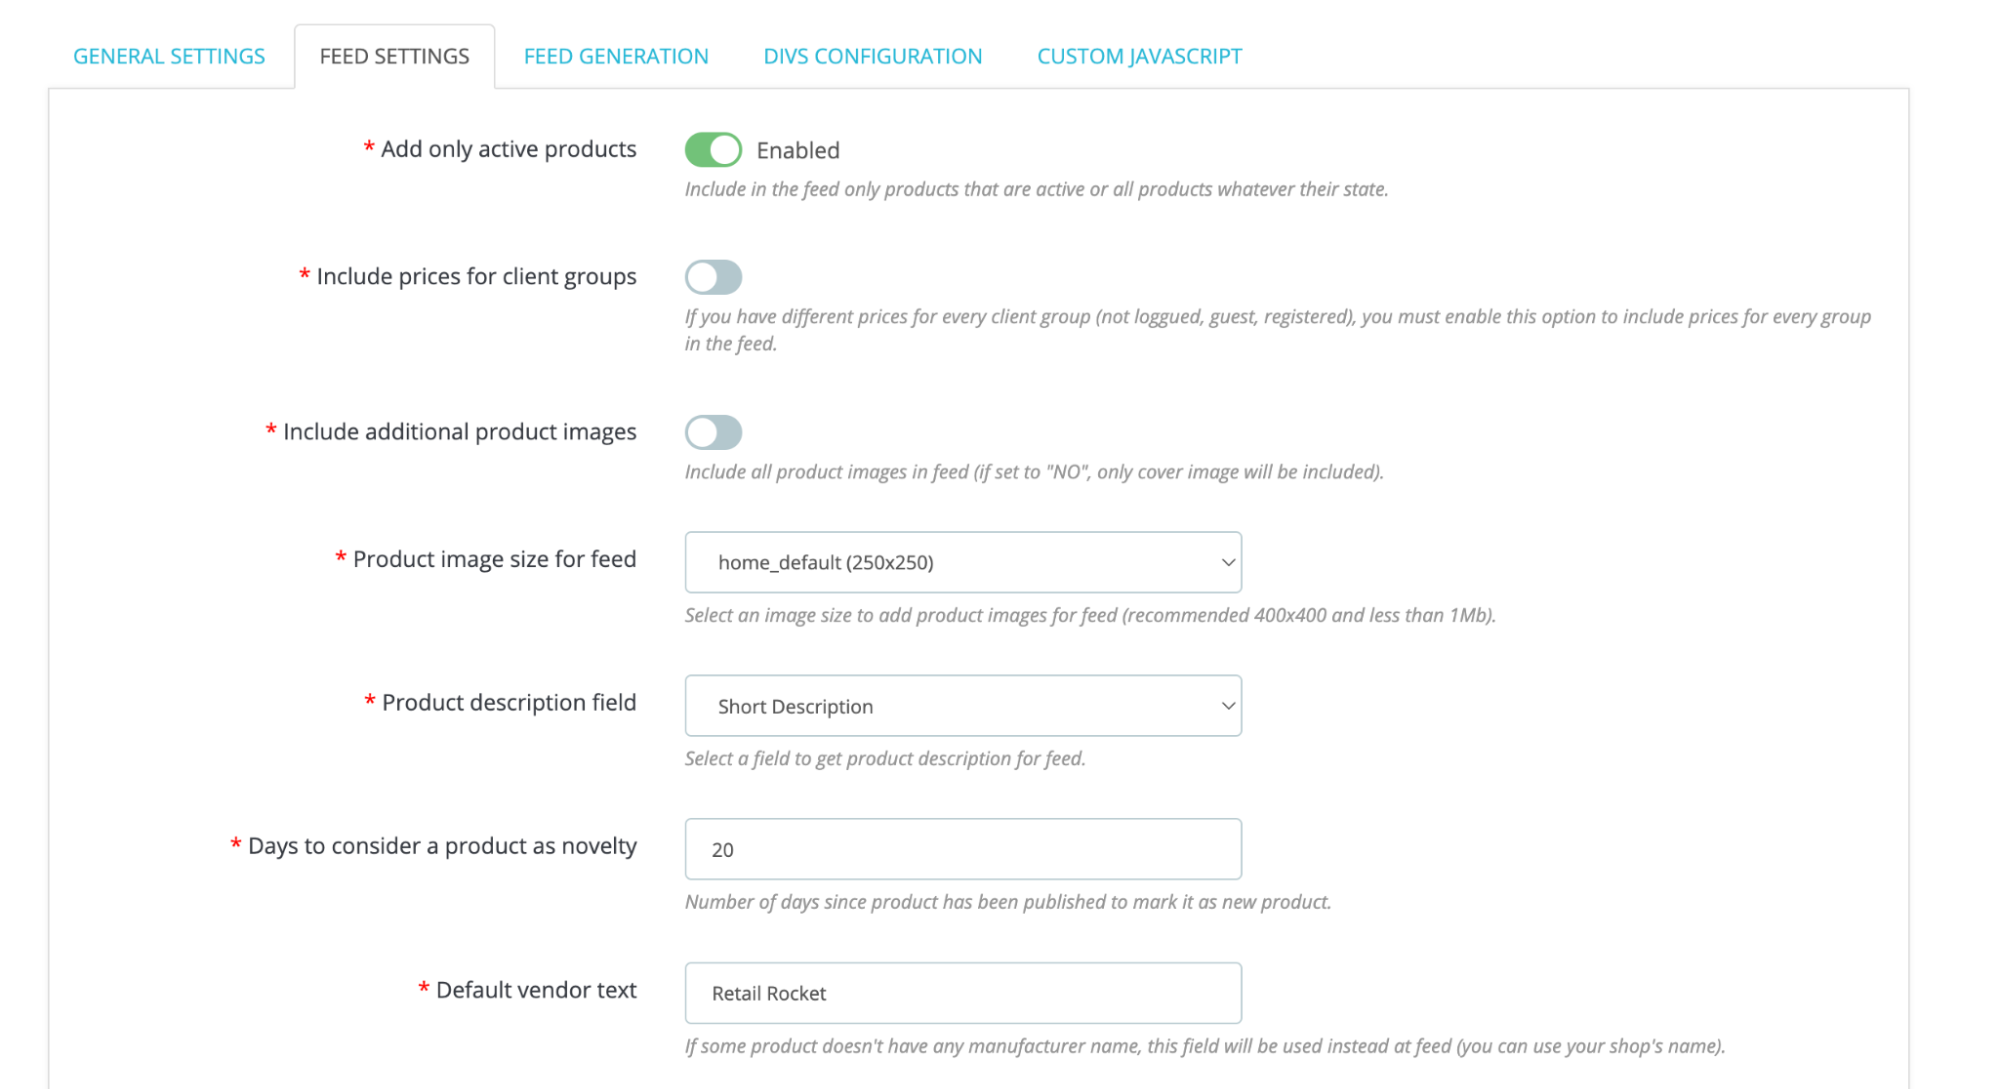
In the "FEED SETTINGS" tab, you can configure the parameters for generating a file containing information about all the products published on the website, which will be periodically and automatically retrieved by Retail Rocket to generate personalized product information blocks.
The "Add only active products" option allows you to choose whether to include only active products or also those that are deactivated. If products are frequently activated/deactivated, it is recommended to include all of them (set to "NO"). If deactivated products are rarely reactivated, you can leave this option on "YES."
The "Include prices for customer groups" option should be enabled when different prices are specified for each group of Prestashop users. The user groups are "Visitor," "Guest," "Customer," and any custom groups created in the store. If no different prices are specified for each group, this option can be left disabled.
The "product image size for feed" will display all the image sizes available in the active theme of your store, and you should select the one that most closely matches the recommended dimensions (400x400px).
The product description field contains the descriptions of the products that will be sent in the feed. Typically, the short description is used, but if this is not utilized in your store or most products have an empty description, you can select the long description instead.
The days to consider a product as novelty setting allows you to mark products as "new" when they have recently been added to the store. You can indicate the number of days since the product was added during which it will be considered new.
The default vendor text is the name used in the product feed when a product does not have a specified brand or supplier. Products that already have a specified brand will use that brand.
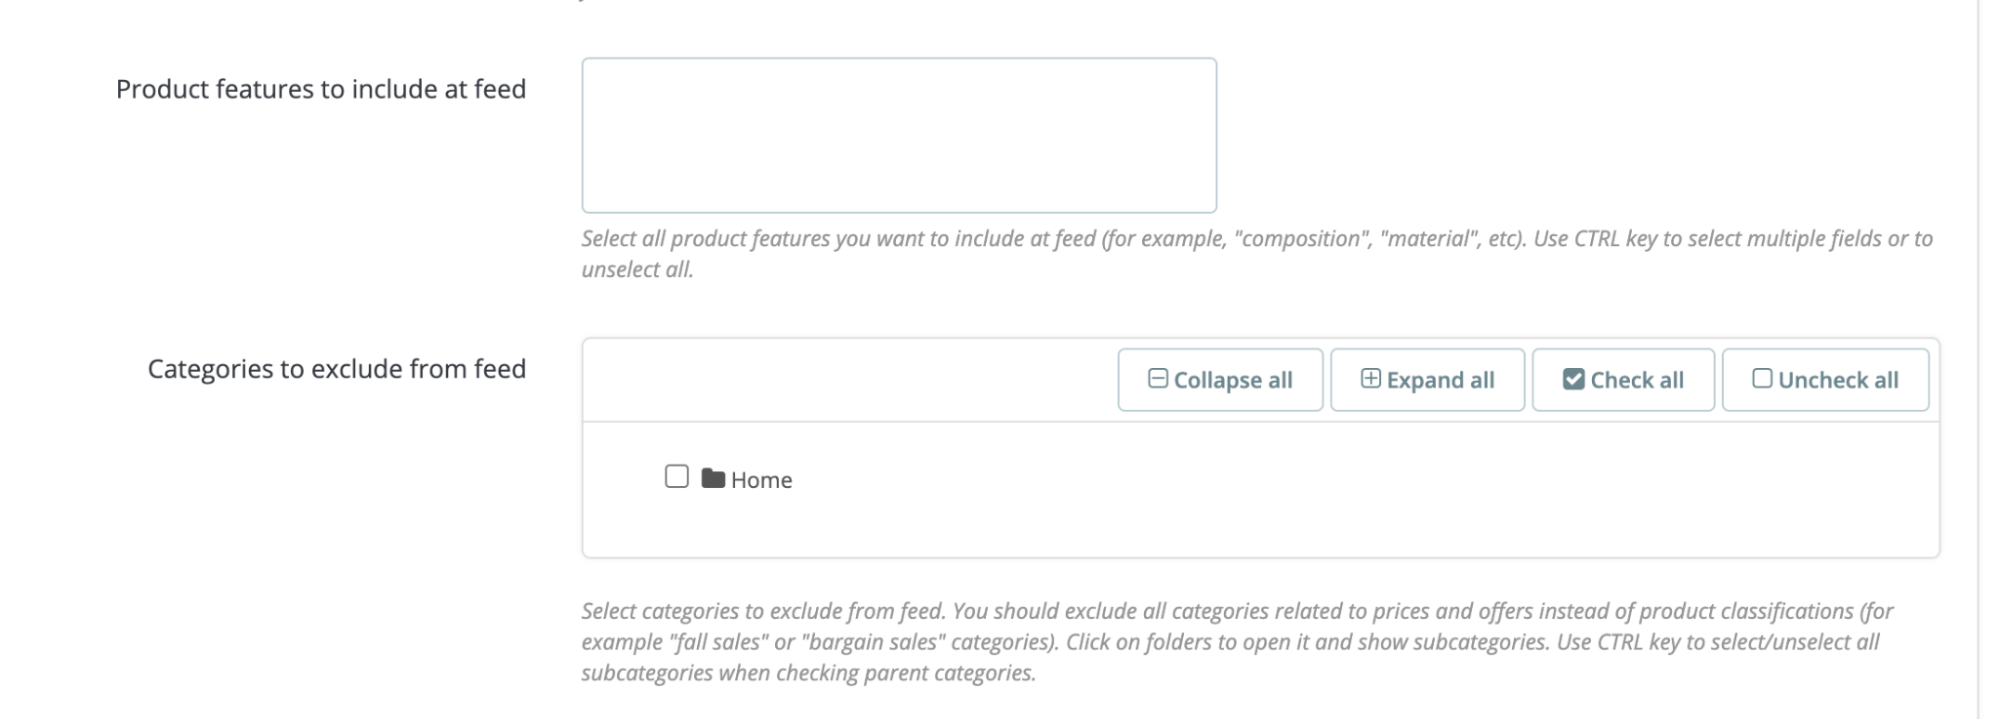
The "Product features to include at feed" selector allows you to choose the product characteristics you want to add. It is recommended to include characteristics that are important for describing the product (such as color, dimensions, etc.). If your store has variable products, the attributes used to create the variations will also be included by default in the product feed.
In "Categories to exclude from the feed", you can choose the categories you do not want to include in the feed. It is usually recommended to exclude price-related categories and include the rest, which refer to the organization of products. For example, categories like "offers," "sales," "outlet," "autumn sales," etc., are often excluded. If in doubt, leave all categories active (do not exclude any), and consult the Retail Rocket team for advice on which categories to exclude.
If your store has multiple languages, an additional selector will appear where you can indicate which languages to include in the product feed. Normally, all languages should be included, but follow the Retail Rocket team's guidance if in doubt.
Similarly, if your store is configured with multiple currencies, a selector will appear where you can choose which currencies to include in the feed.
NoteIf you change any value in this section, it is necessary to SAVE before generating the feed to ensure the new values are considered in the feed generation process.
Generating the Product Feed
Once the product feed options have been configured (and the values saved, which is very important), the feed can be generated from the "FEED GENERATION" tab:
You can regenerate the feed at any time by simply clicking the "Create feed now" button. This will start the product feed generation process and open a new window showing the result. If there are a large number of products in the store, generating the file may take several minutes.
The feed, once generated, will be available at this path (there will also be a compressed version in gzip):
https://your-store-name/modules/retailrocket/retailrocketfeed.xml
https://your-store-name/modules/retailrocket/retailrocketfeed.xml.gz
In addition to the initial manual generation, it is important to schedule automatic regeneration so that the product feed is updated automatically every X hours. To activate automatic regeneration, simply enable it in the feed generation tab and choose a time period (4, 8, 12, or 24 hours). Usually, regenerating it every 24 hours is sufficient, but if your store has high product turnover or frequent stock variations, you can choose a shorter period.
Manual Div Configuration
Divs are the blocks where Retail Rocket's recommendations will be displayed. The Retail Rocket team will provide you with a list of div identifiers and the location of each (on the home page, product page, category page, cart, etc.).
To access the manual div configuration panel, first go to the "Div Configuration" tab, and click on the "click here" option in the manual configuration notice.
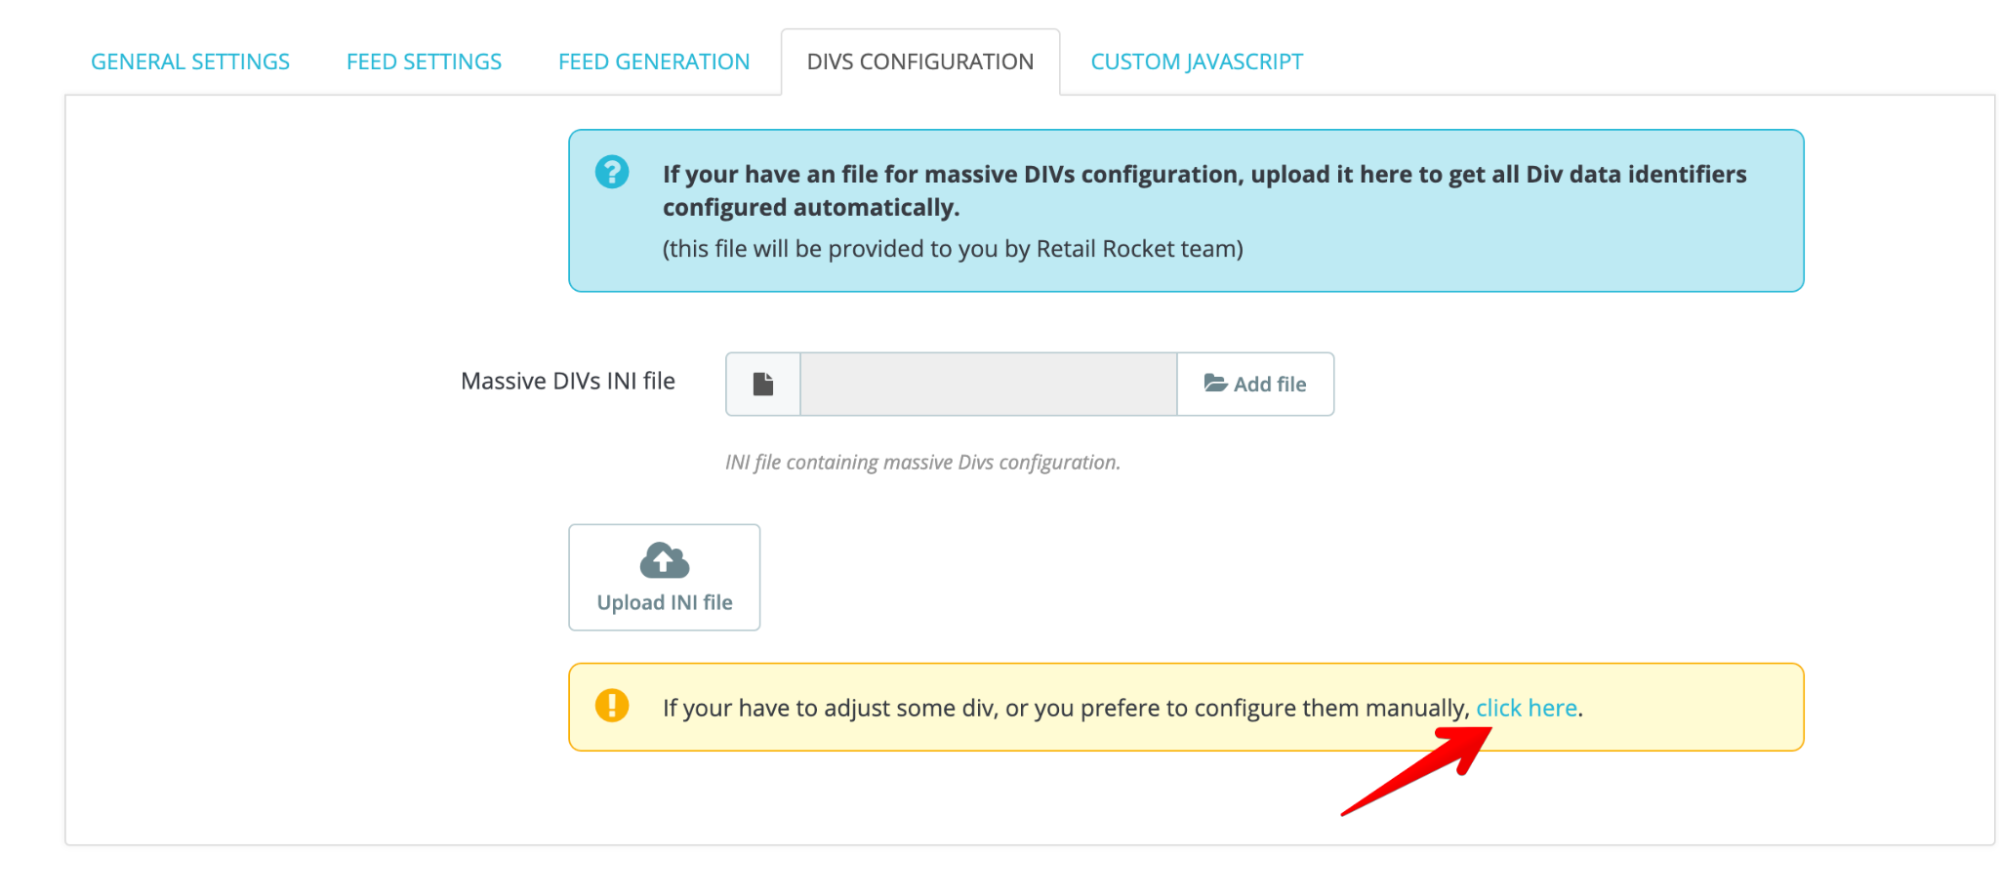
You will need to search through the div tabs for the appropriate location of each and input their identifiers (markup-block):
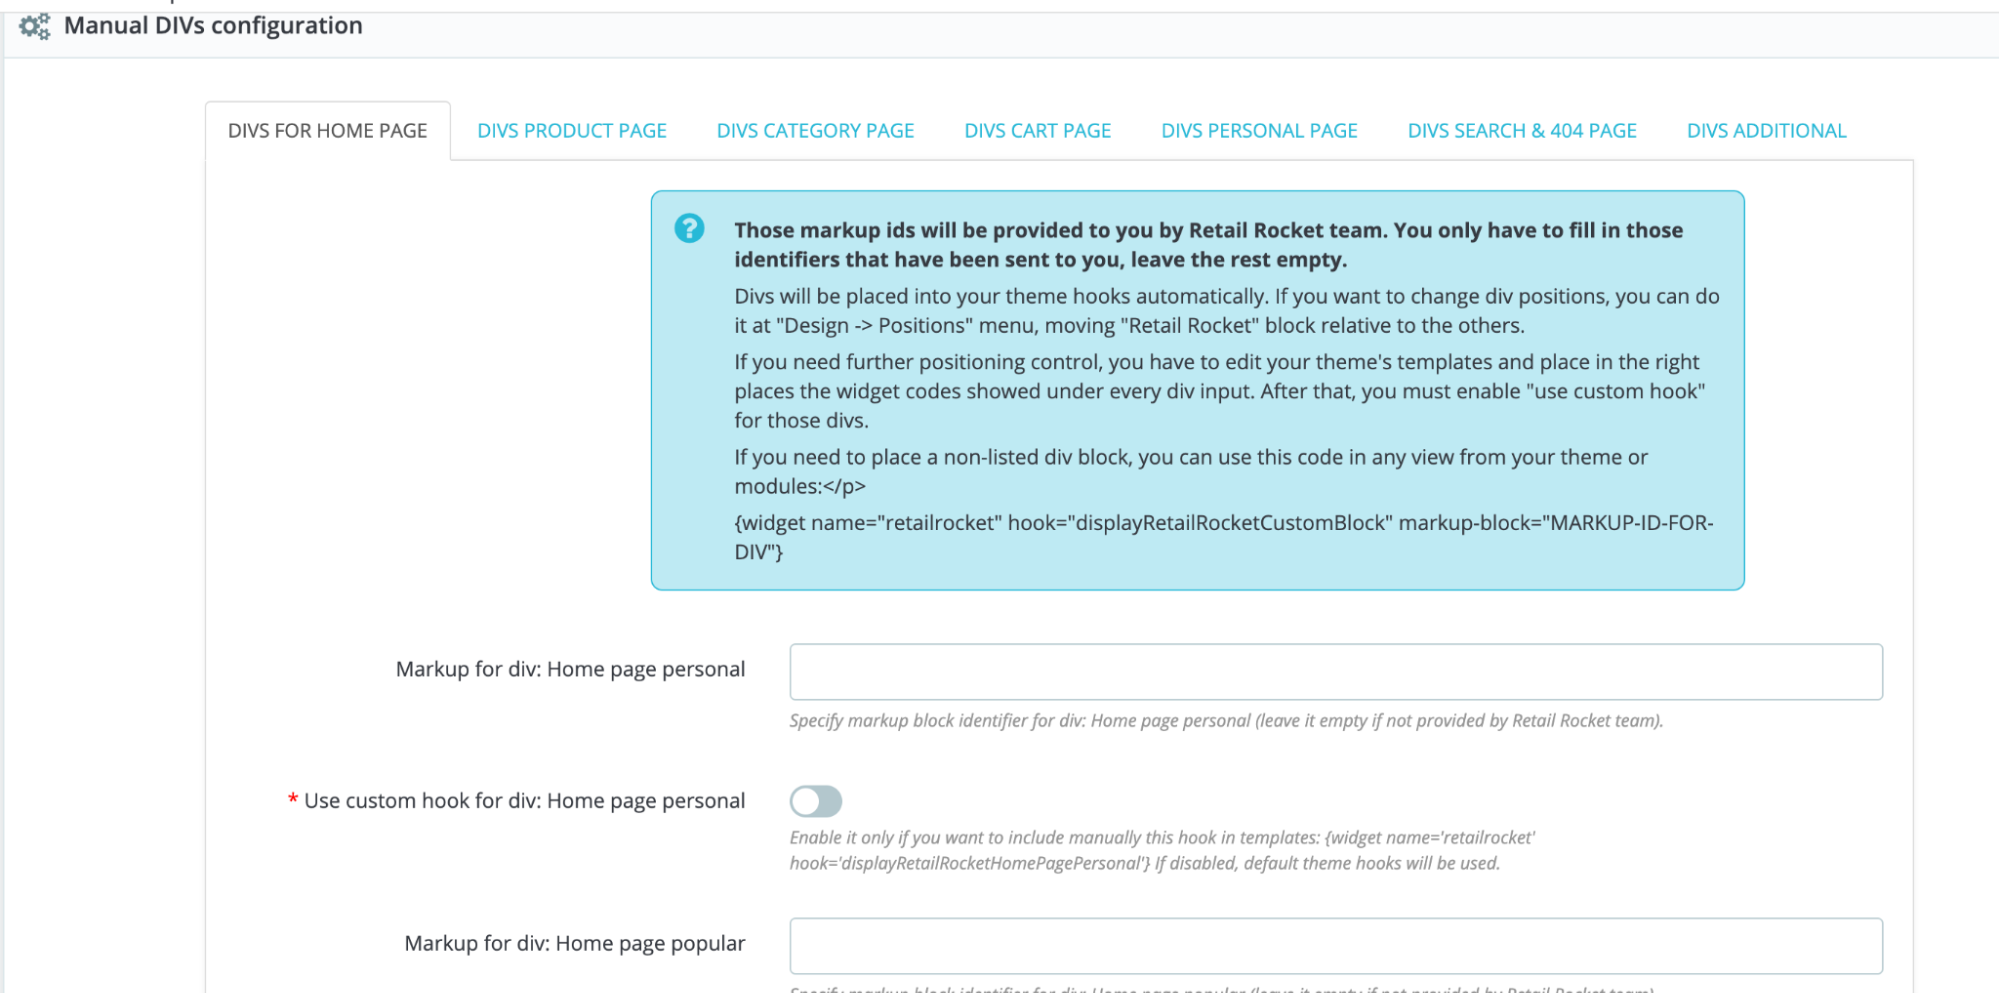
It is not necessary to complete all the blocks, only those provided by the Retail Rocket team. Leave the rest empty, which will deactivate them.
Changing Div Locations
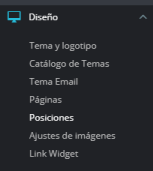
The divs are placed by the module in specific locations within each page (known as hooks). If you want to customize their position relative to other existing blocks on the same page, you can do so from the Prestashop "Design->Positions" menu.
Once in this section, you can search for Retail Rocket module blocks, and by clicking and dragging with the mouse, you can change their position relative to other blocks on the same page (for example, placing them in front of other blocks or existing modules).
For more customization, in the module options, for each block, you can activate the "Use custom hook for div" option. This will allow you to copy the template code that appears below, for example:
{widget name='retailrocket' hook='displayRetailRocketCardPageBundleRelated')And paste it into your theme's templates at the exact location where you want the block to be displayed. This requires some knowledge of programming and should only be done by someone who knows how to edit Prestashop theme templates.
Adding Additional Divs
In addition to the div locations provided in the module, sometimes it is necessary to include a div in a "non-standard" location, for example, inside a module view. This can be done using a "shortcode" or marker code like the following:
{widget name="retailrocket" hook="displayRetailRocketCustomBlock" markup-block="MARKUP-ID-PARA-EL-DIV"}`This shortcode can be included in any theme or installed module view file to add any additional div to those included in the module. The code MARKUP-ID-FOR-THE-DIV should be replaced with the numeric code corresponding to the div's markup-block.
It is also possible to add optional additional parameters for divs, you just need to pass them by adding them at the end of the shortcode, and they must start with data-. For example, data-product-id="305", or data-category="12".
Adding these types of divs requires some programming knowledge and should only be done by someone who knows how to edit Prestashop theme templates.
NoteCustom divs are not necessary in most cases. You should only add them if instructed by the Retail Rocket team.
Adding Custom JavaScript
In case you need to add custom JavaScript code (for example, to include additional tracking like wishlist tracking or others), it is possible to insert the code from the "Custom JavaScript" tab. Just copy and paste the code into the text area that exists in that tab, and click the "Save JavaScript" button.
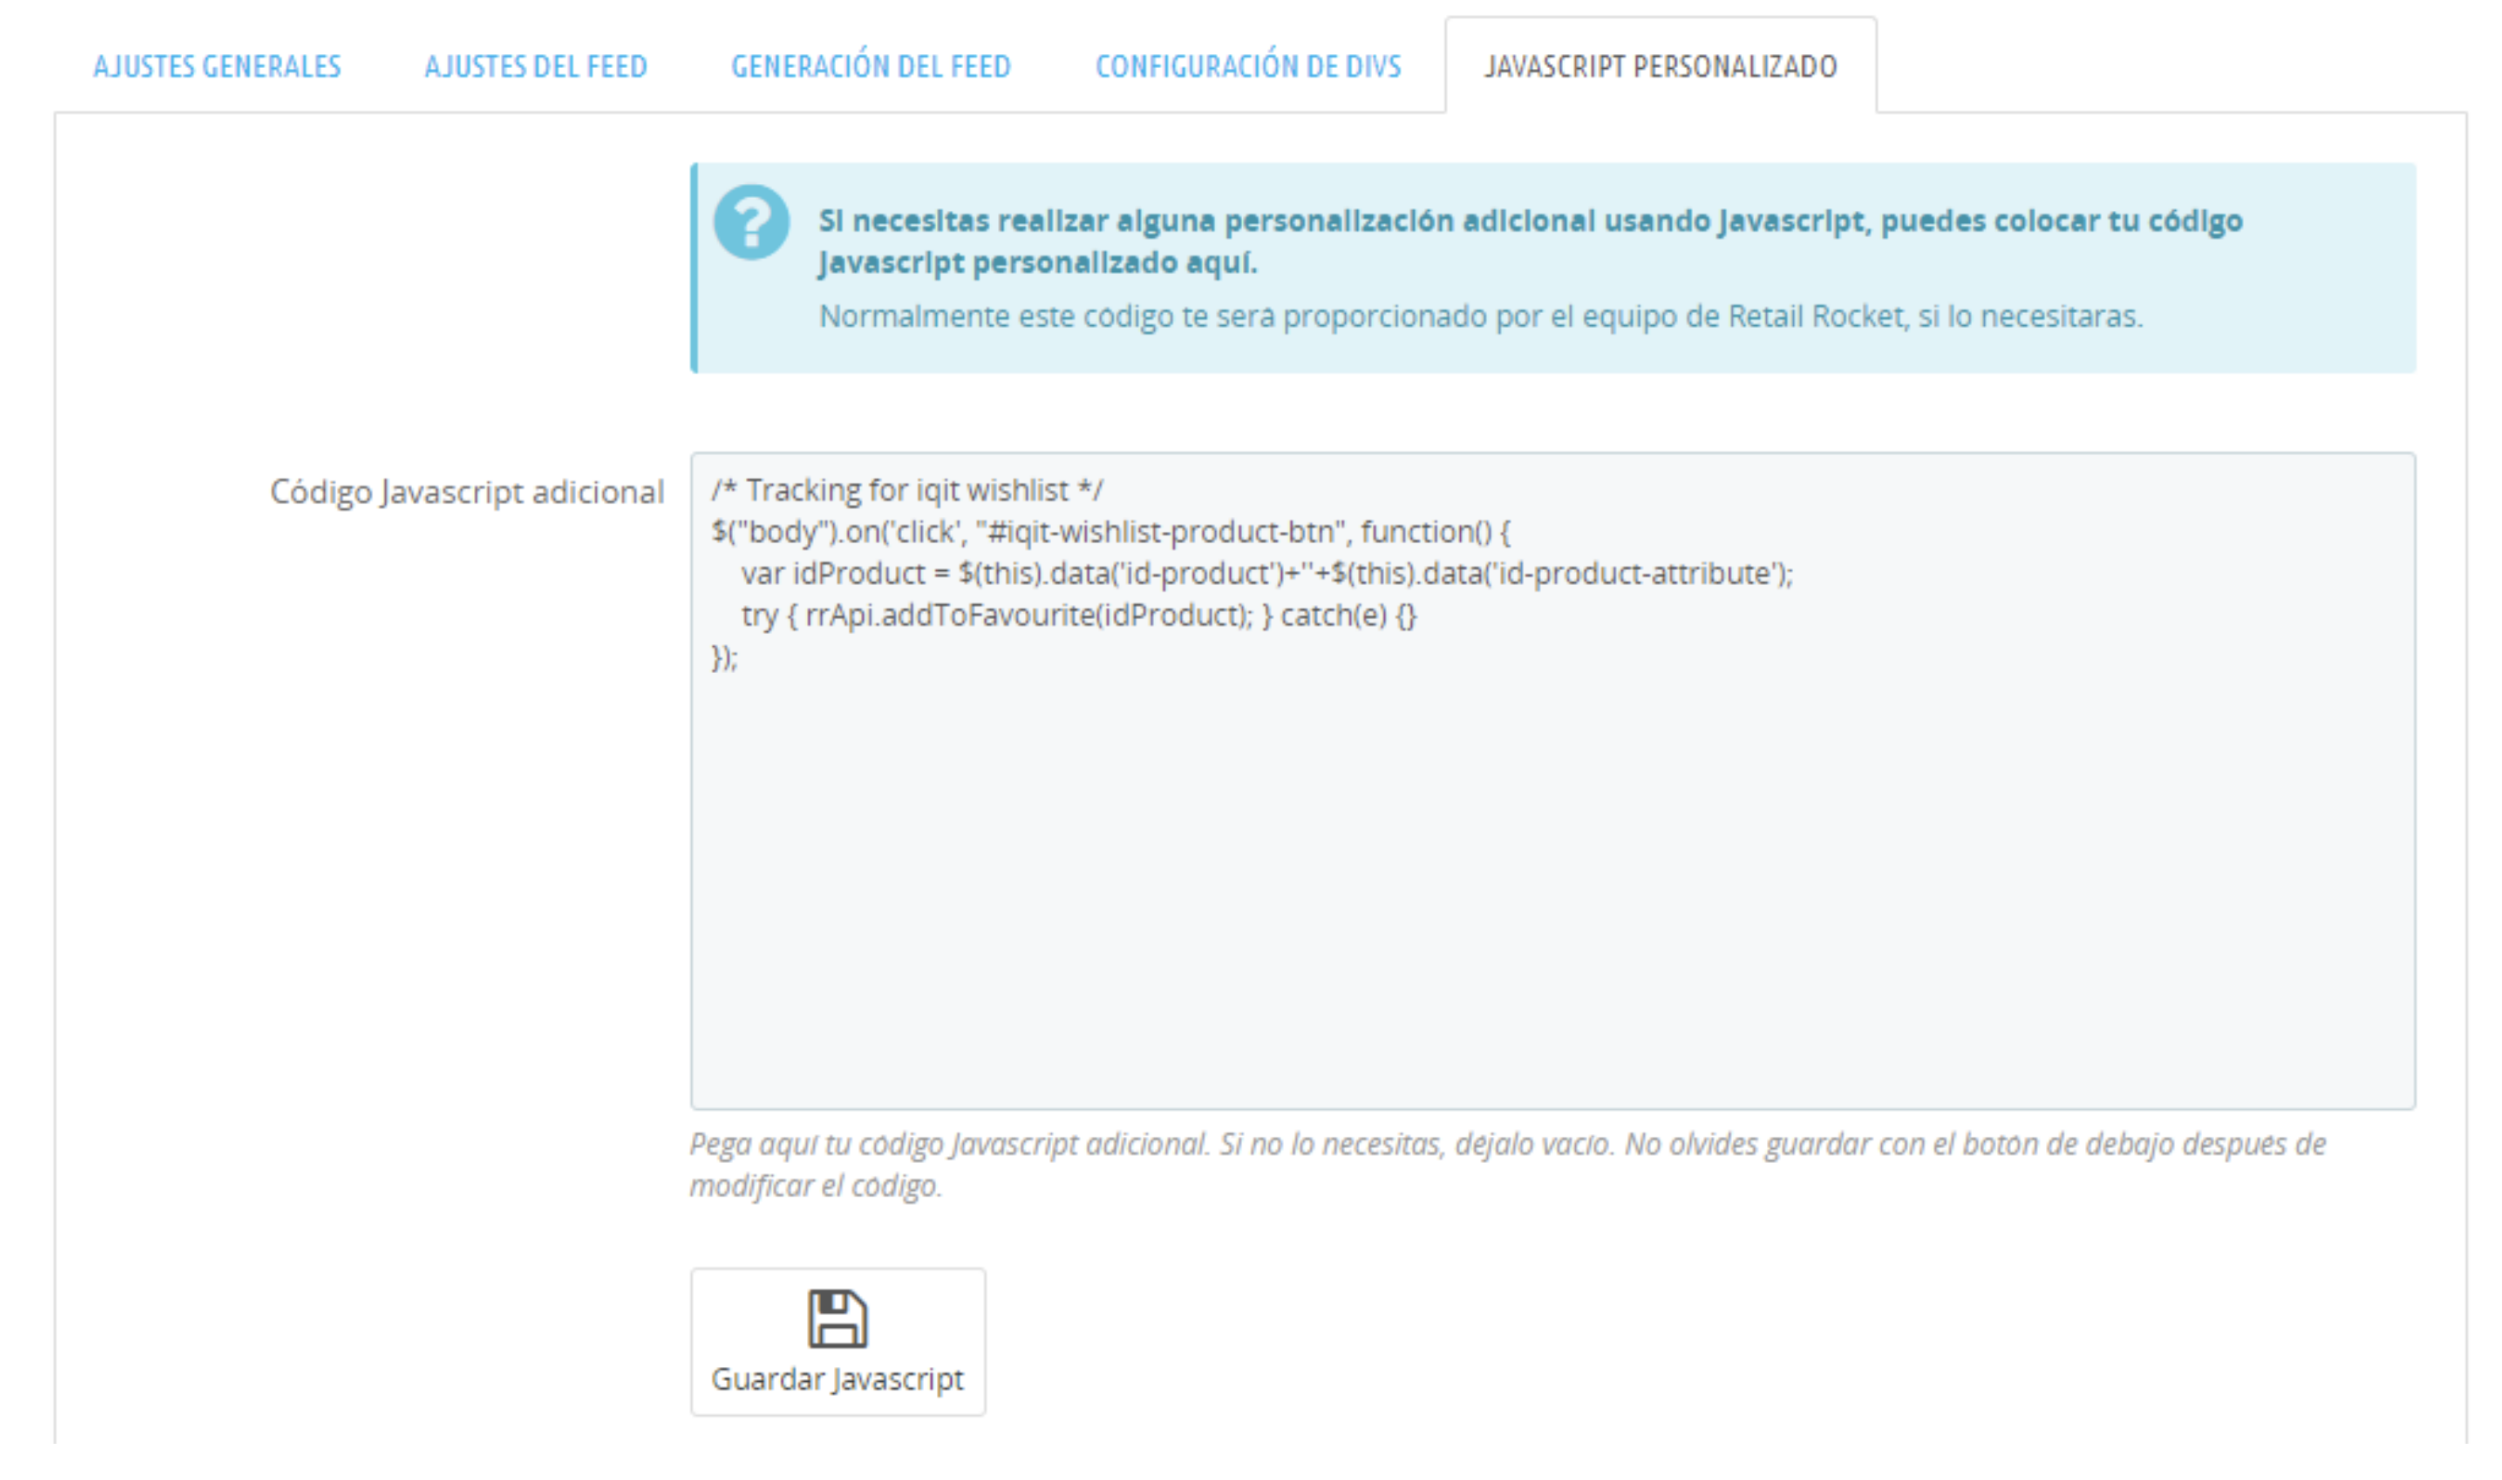
NoteAdding custom JavaScript is not necessary for most stores. If it is needed in your case, the Retail Rocket team will provide you with the necessary code, so you only need to copy, paste, and save it to add it to your installation.
Updated 27 days ago